Your Screenshots Deserve Better: A No-Budget Guide to In-Game Photography
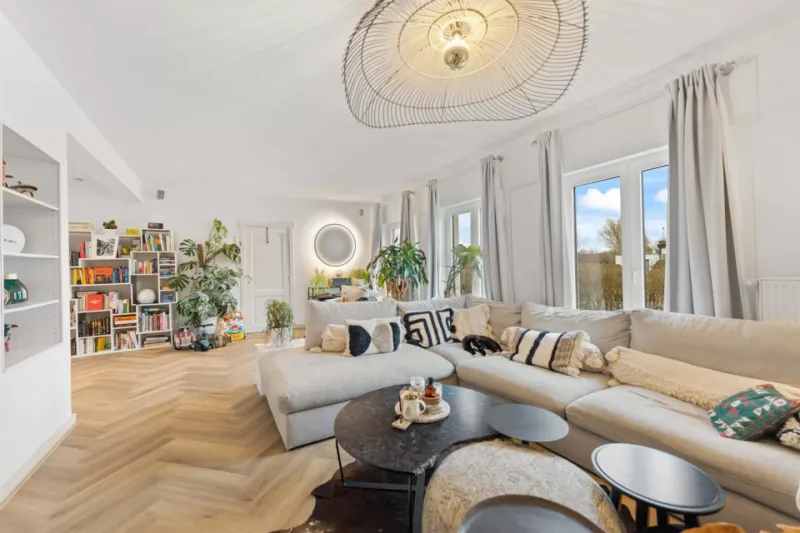
Photo: Benstokes012, CC0, via Wikimedia Commons
Somewhere on your hard drive is a folder called 'Sims Pics' filled with 600 screenshots, and maybe twelve of them are good. Mine had 1,400. Learning a handful of camera and lighting habits cut that ratio dramatically — and none of it required a better PC.
Good screenshots also make you a better player. When you're framing a shot, you notice the things you built, the clutter that reads on camera, and the faces your Sims make when they think nobody's looking.
Start With the Camera, Not the Subject
The first thing to do is stop taking pictures at the screen. Your phone pointed at a monitor captures glare, moiré, and the reflection of your own face.
Use the in-game camera instead. C takes a screenshot and V starts recording video; both drop files into your Documents folder, and the screenshot capture strips the interface for you. If you want the UI back in the shot for a tutorial or a build breakdown, you can always re-enable it. But for story and build posts, that clean frame is the whole point.
Then turn on the free camera. It detaches you from the Sim you're controlling, which means you can shoot from the corner of the ceiling, from across the street, or from eye level instead of the standard floating overhead angle everyone uses by default. Half the 'why do my screenshots look flat' problem disappears at this step.
Light Is the Whole Ballgame
Most of my worst shots aren't badly framed. They're badly lit — too dim, or lit from directly above, which is exactly where a camera flash should never be.
Shoot at golden hour. Early morning and late afternoon light through windows is warm, low, and forgiving. Bounce a save forward a few in-game hours if you have to. Nobody's judging you for changing the time of day.
Add lamps you'll never see during gameplay. Floor lamps behind your Sims' heads, table lamps on side tables, a standing light tucked in the corner of an otherwise dark room. Photographers call the real stuff 'practical lighting.' In this game it's just a cheap floor lamp doing unpaid labor.
Turn lights up and down by clicking them. Adjust intensity and color to taste. Cool white for a kitchen, warm for a bedroom, and anything other than the default fluorescent glare.
Watch the window behind your subject. If a Sim is standing in front of a sunny window, they become a silhouette. Rotate the shot 90 degrees and let the light hit the side of their face instead.
Composition for People Who Aren't Photographers
Three rules will get you 90 percent of the way there.
Don't center everything. Put your main subject slightly off to one side and let the room breathe on the other. Instant upgrade.
Leave headroom. Sims standing against a wall with their shoes cropped out looks accidental. Pull back, or tilt slightly up.
Use something in front. A plant, a doorway, a curtain, the edge of a kitchen island. Foreground clutter creates depth and makes the shot feel like a candid moment in a real house rather than a product photo.
One more: shoot low. Eye level or below. Sims 4 looks a hundred times more cinematic from knee height than from the standard ceiling-cam angle.
Poses, Packs, and What's Actually Worth Installing
Base-game Sims stand around doing idle animations, which is fine for lifelike gameplay coverage and terrible for anything resembling a family portrait.
If you want posed shots, the standard combo is Pose Player and Teleport Any Sim, both widely available and both with instructions that are worth reading twice. Teleport Any Sim lets you put Sims exactly where you want them; Pose Player lets you run pose packs that other creators have made. Grab packs that match the story you're telling — weddings, family portraits, kids playing, whatever — and don't install forty of them at once. Load times are not free.
Reshade and GShade presets are popular and gorgeous, and they're also PC-only, they can break with patches, and they are absolutely not required. Skip them until you've maxed out what the base game camera and lighting can do.
Editing on Your Phone Is Fine
You don't need Photoshop. Free mobile editors — Snapseed, the free tier of Lightroom, or a browser tool like Photopea — cover everything a screenshot actually needs:
- Crop and straighten. Get rid of the awkward purple edge of the lot.
- Exposure. Nudge bright scenes down slightly; dark ones up.
- Contrast. A little goes a long way.
- Warmth. Shove it toward warm and suddenly everything looks like a cozy autumn evening.
Two rules: don't blow out the highlights until the windows are pure white, and don't oversaturate. Fifteen passes of 'just a bit more vibrancy' is why so many Sims screenshots look radioactive.
Post the Shot, Not the Perfect Shot
The biggest bottleneck isn't skill. It's waiting until a save is finished to document it.
Post the clutter. Post the badly lit shot of the toddler asleep on the kitchen floor. Post the build when three rooms are done and the rest is empty, because the 'in progress' pictures are the ones that get the most replies.
Your legacy updates and build showcases get easier to share the moment you stop treating screenshots as a formal exercise and start treating them as notes from inside the story. Nobody's grading composition. They're just glad you let them see the kitchen.